Art can change the feel of a room very quickly. One favorite painting or photo can catch the eye, but the light decides the mood. Soft shadows help. Clear focus matters too. The right brightness lets artwork stand out and keeps the eyes relaxed. This guide shares easy ways to use wall-mounted lights with confidence. You will see how placement, size, color tone, and spacing affect the final look. The tips stay simple, so most people can try them at home without stress.
When it comes to art lighting, Visual Comfort picture lights are one example of fixtures made for clean and focused light. Designs like these show how good lighting supports artwork instead of taking attention away from it. The ideas shared here focus more on technique than on products. That makes them easy to use in almost any room or budget.
Choose the Right Fixture Size for Each Piece
Light size matters more than many expect. A fixture that feels too short leaves edges in shadow. One that feels too wide steals attention from the art itself. A simple rule helps guide decisions. Select a light that spans about half to two-thirds of the artwork’s width. This range creates even coverage without glare.
Consider the frame depth as well. Deep frames benefit from lights that extend slightly forward. Slim frames work best with compact fixtures. Wall color also plays a role. Dark walls absorb light, so slightly stronger output helps maintain clarity.
Set the Correct Height Above the Artwork
Height controls how light spreads across the surface. Place the fixture too high, and the top glows while the bottom fades. Place it too low and harsh shadows appear. Aim for a balanced position that feels natural to the eye.
A helpful starting point includes these steps:
- Mount the light about 1.5 to 3 inches above the frame.
- Adjust the angle so light reaches the lower edge.
- Step back and view from a normal standing distance.
Small tweaks make a big difference. Take time to test before final installation.
Pay Attention to Beam Spread and Angle
Beam spread defines how wide the light travels. Narrow beams suit small pieces or bold statement art. Wider beams fit large paintings or grouped frames. Angle matters just as much. A gentle downward angle reduces glare and protects delicate surfaces.
Many wall-mounted lights offer adjustable heads. Use this feature to fine-tune results. Tilt the light until the artwork appears evenly lit from top to bottom. Avoid steep angles that bounce light into the room. Focus remains on the art, not the fixture.
Match the Light Color to the Artwork Style
Color temperature shapes how artwork feels. Warm light adds depth to classic paintings and wood frames. Cooler light supports modern prints and black-and-white photography. The wrong tone can shift colors and dull detail.
Keep these general tips in mind:
- Warm white around 2700K to 3000K suits traditional art.
- Neutral white around 3500K works for mixed styles.
- Cooler white near 4000K fits contemporary spaces.
Consistency across a room helps create harmony. Mixing tones may distract the eye and break visual flow.
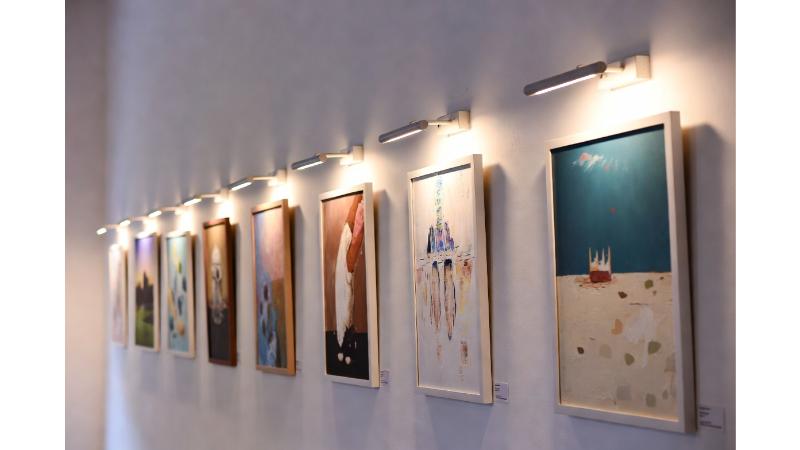
Plan Spacing for Multiple Pieces on One Wall
Gallery walls need careful planning. Each piece deserves attention without competition. Even spacing between lights keeps the balance across the display. Measure the distance between frames first. Then align each light to match.
For clean results, follow this approach:
- Center one light per artwork.
- Keep fixture heights consistent.
- Maintain equal gaps between frames and lights.
This structure prevents clutter and keeps focus on the collection. The wall feels intentional rather than crowded.
Balance Accent Lighting With Room Lighting
Accent lighting works best when it complements the room. Too much brightness pulls focus away from furniture and decor. Too few leaves are flat. Balance creates comfort and visual flow.
Layered lighting helps achieve this effect. Use ambient light for general brightness. Add wall-mounted lights to highlight art. A subtle contrast between the two draws the eye naturally. In some homes, examples like Visual Comfort picture lights show how accent lighting can feel refined without taking over the space.
Consider Wiring and Control Options Early
Planning saves effort later. Hardwired fixtures offer a clean look with hidden cords. Plug-in options work well for rentals or quick updates. Both choices support good results when planned early.
Control options add convenience. Dimmer switches allow fine control over brightness. This flexibility protects artwork and adjusts mood throughout the day. Smart controls offer scheduling, though simple dimmers meet most needs. Choose what fits your lifestyle and keeps use easy.
Thoughtful wall-mounted lighting brings artwork to life. Proper size, height, beam spread, and color tone all play a role. Balanced spacing and layered light keep walls calm and inviting. Early planning simplifies installation and daily use. With these tips, art gains presence without overpowering the room. A well-lit piece feels intentional, personal, and quietly confident.